
Settings
Open Settings from the bottom of the sidebar, or press ⌘, from anywhere in the app. Settings has seven tabs, listed down the left side of the Settings window.
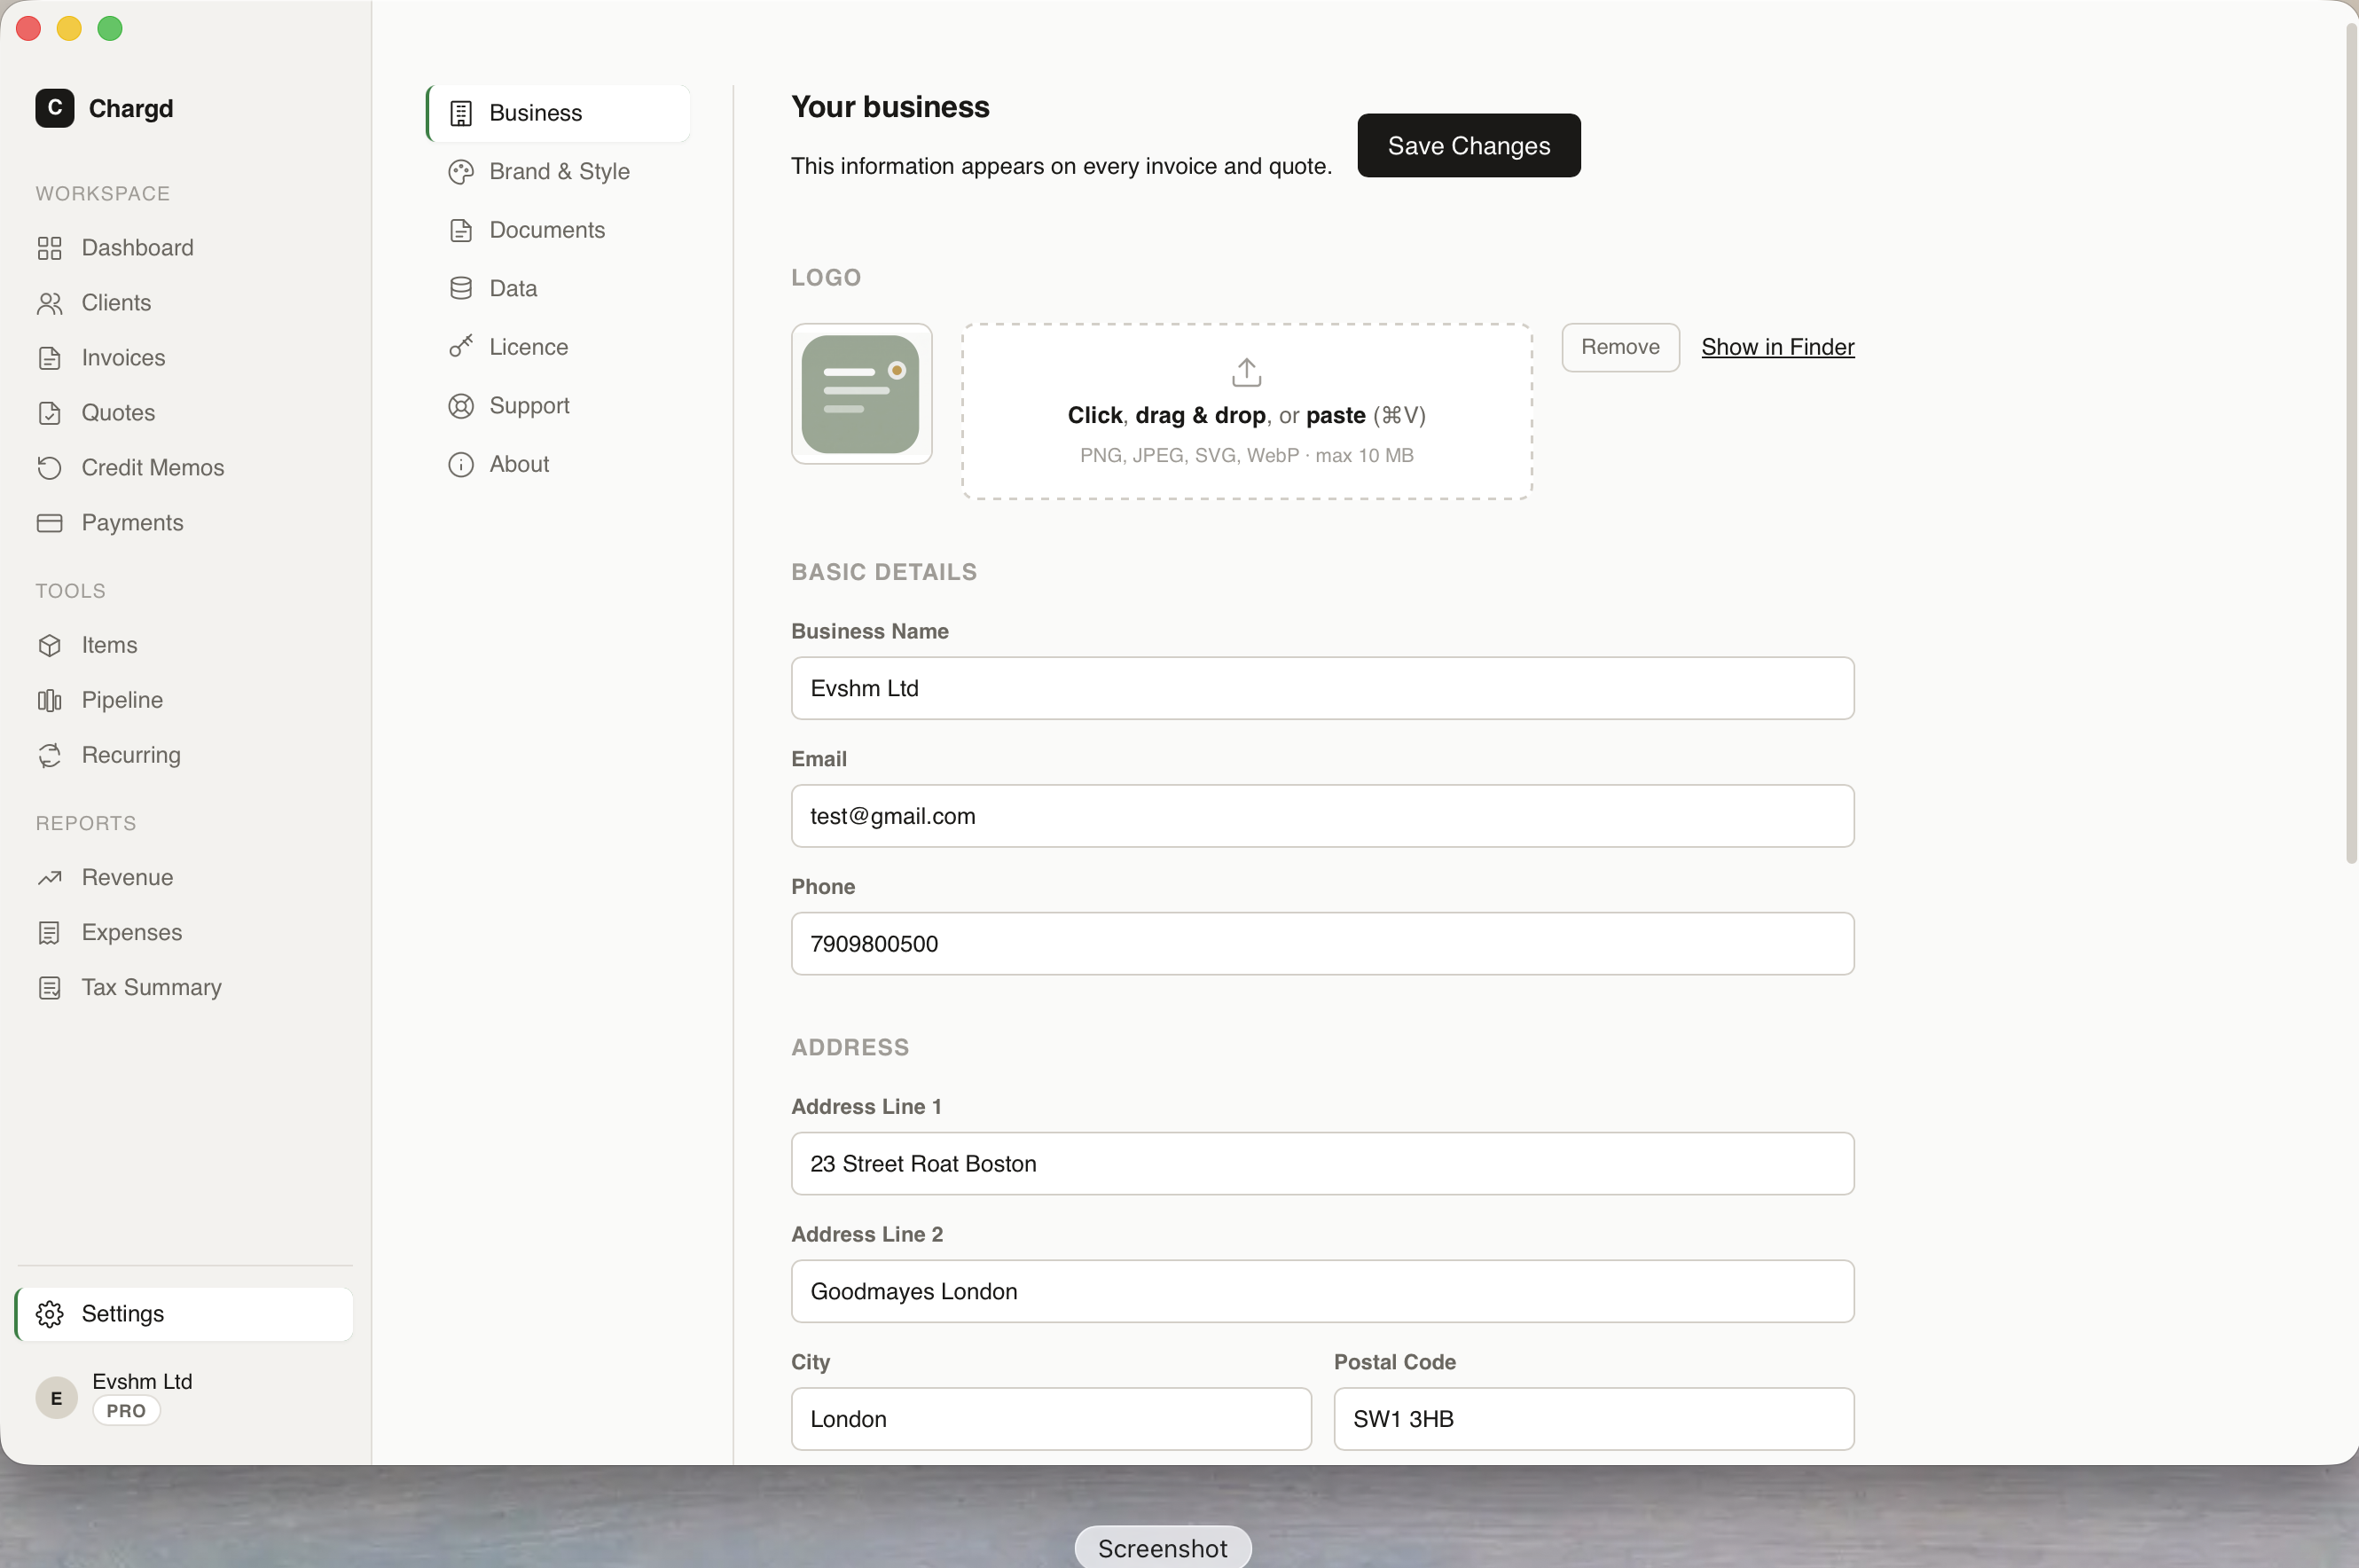
Business
Your logo, business name, email, phone, and address, this information appears on every invoice and quote. Fill in the fields and click Save Changes (circled below) in the top right to apply them.
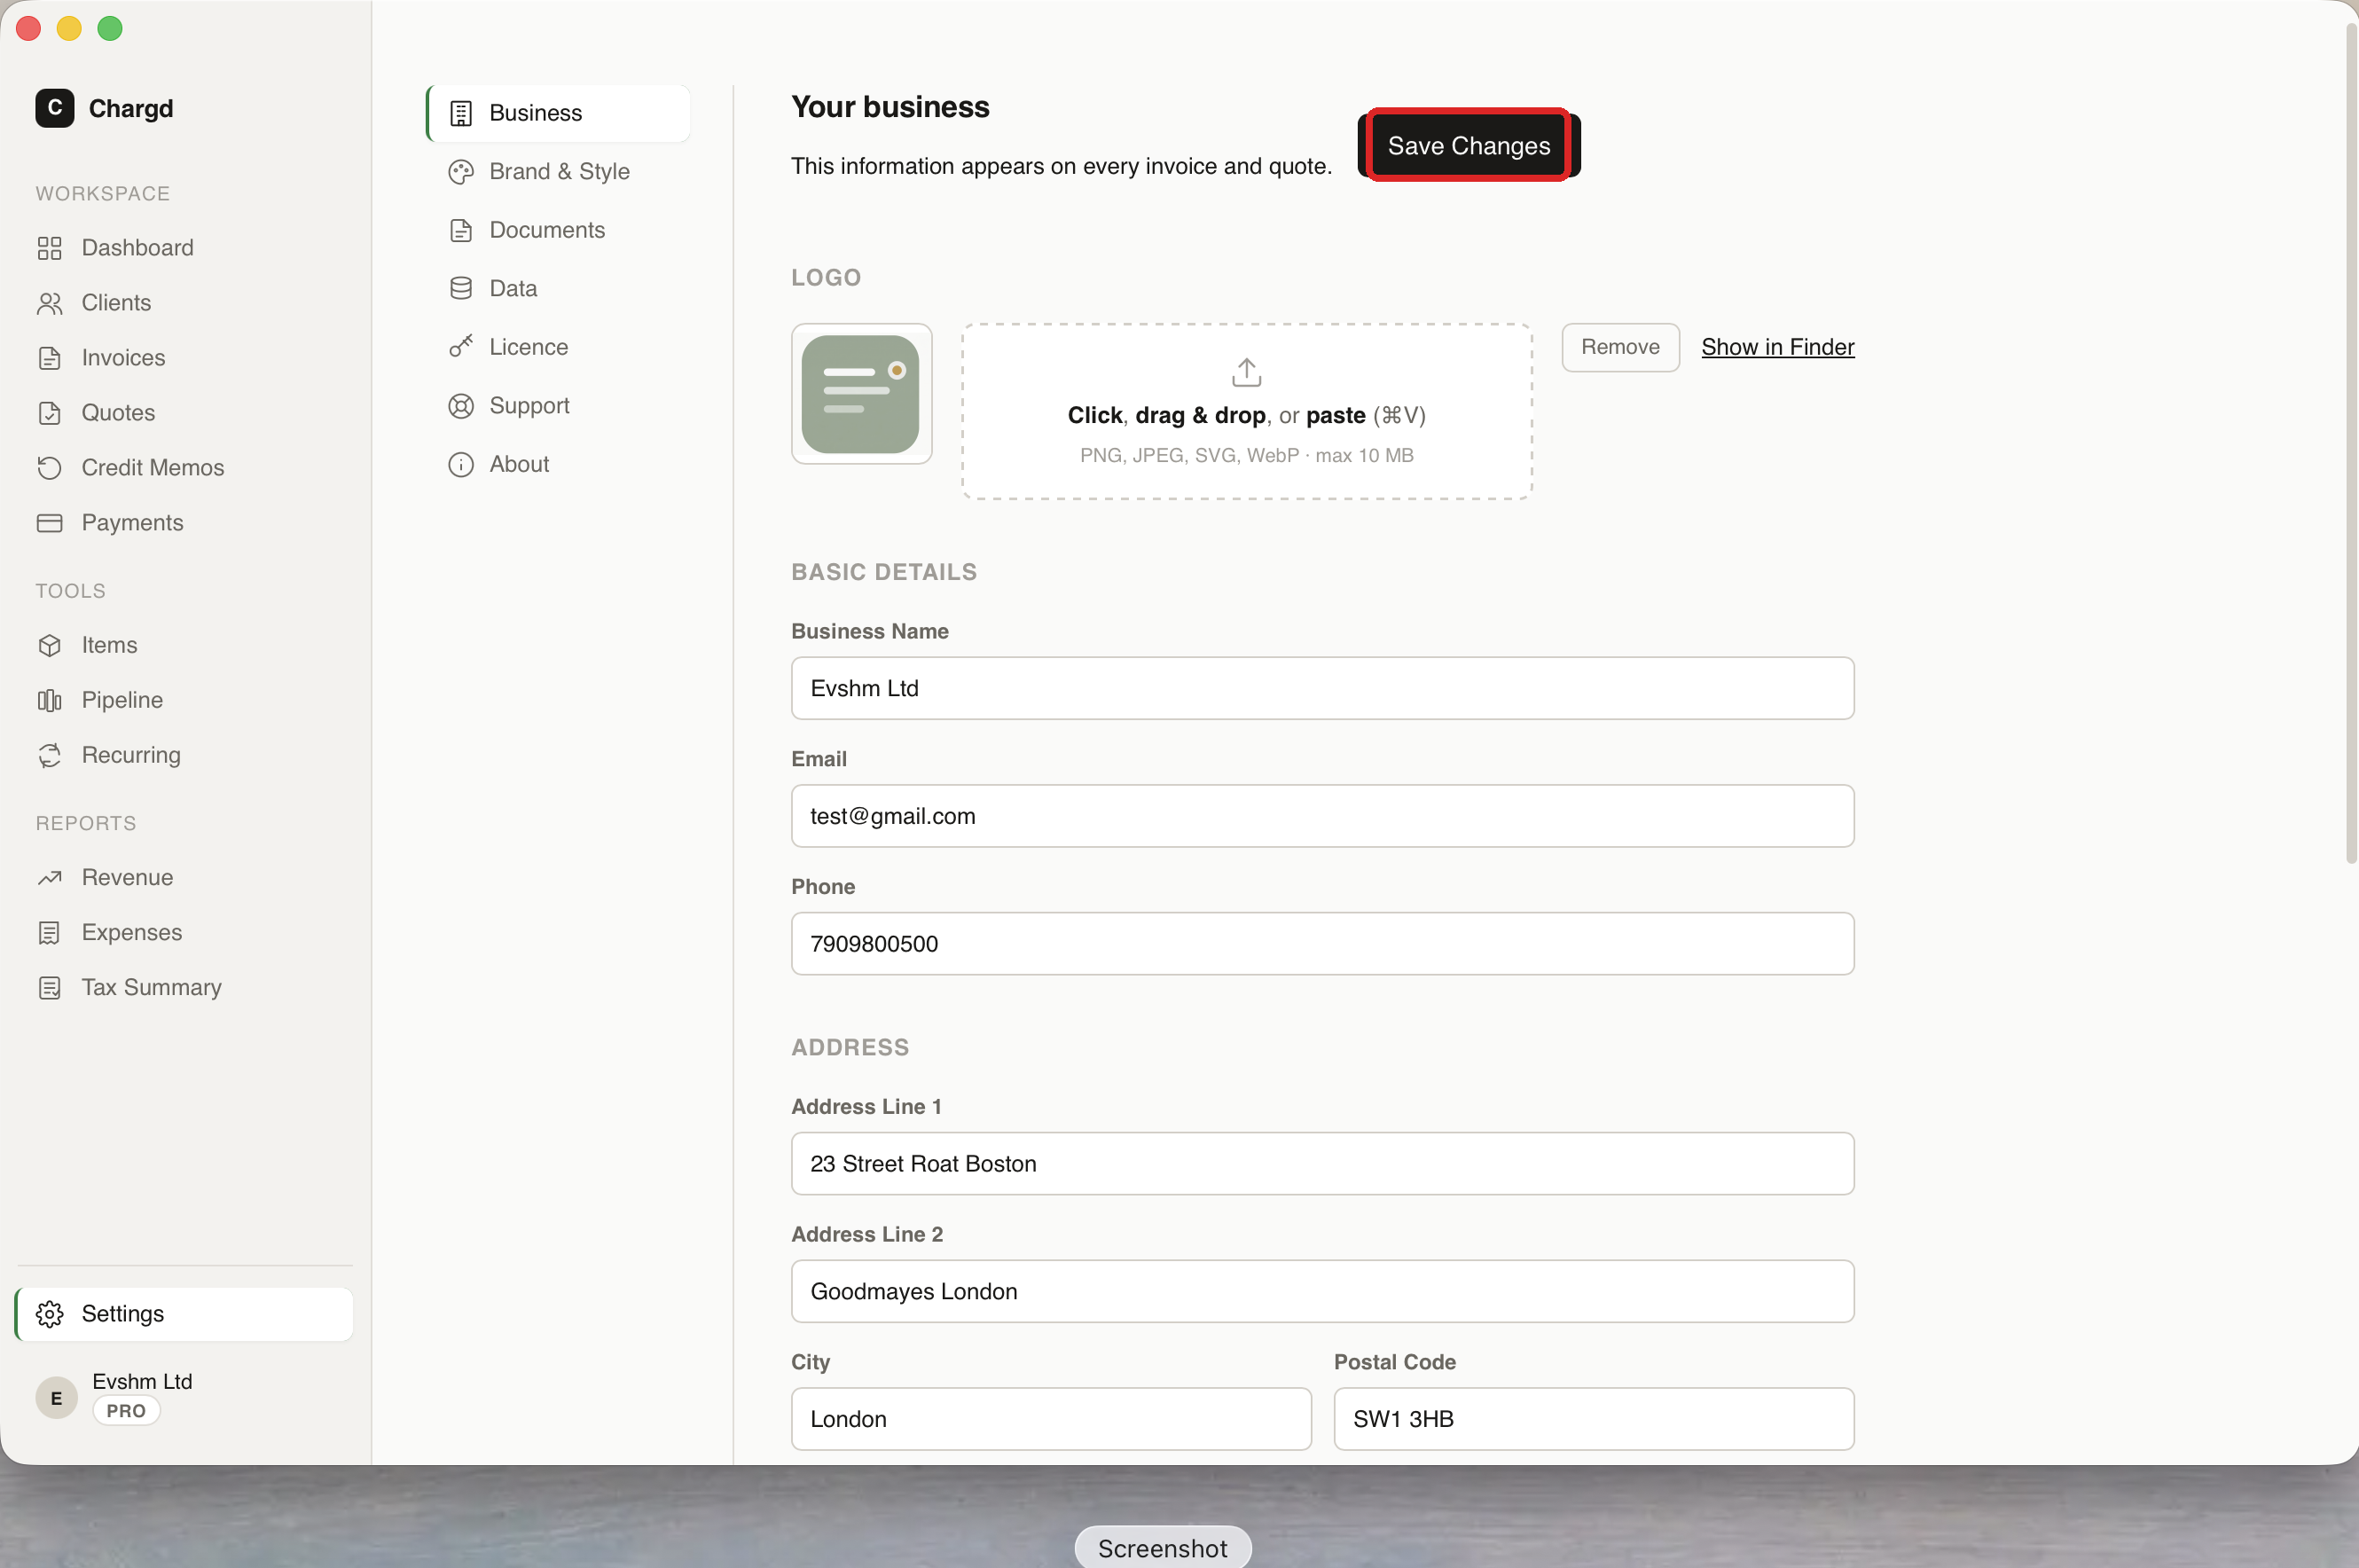
Brand & Style
Upload your logo and pick a brand colour, used on invoices, quotes, PDF templates, and app accents. Click one of the preset swatches or type a hex code directly (circled below), and use the Preview panel to see how it looks on a button, badge, and header before saving. You can also rename the app itself in the App Name field, which updates the window title immediately.
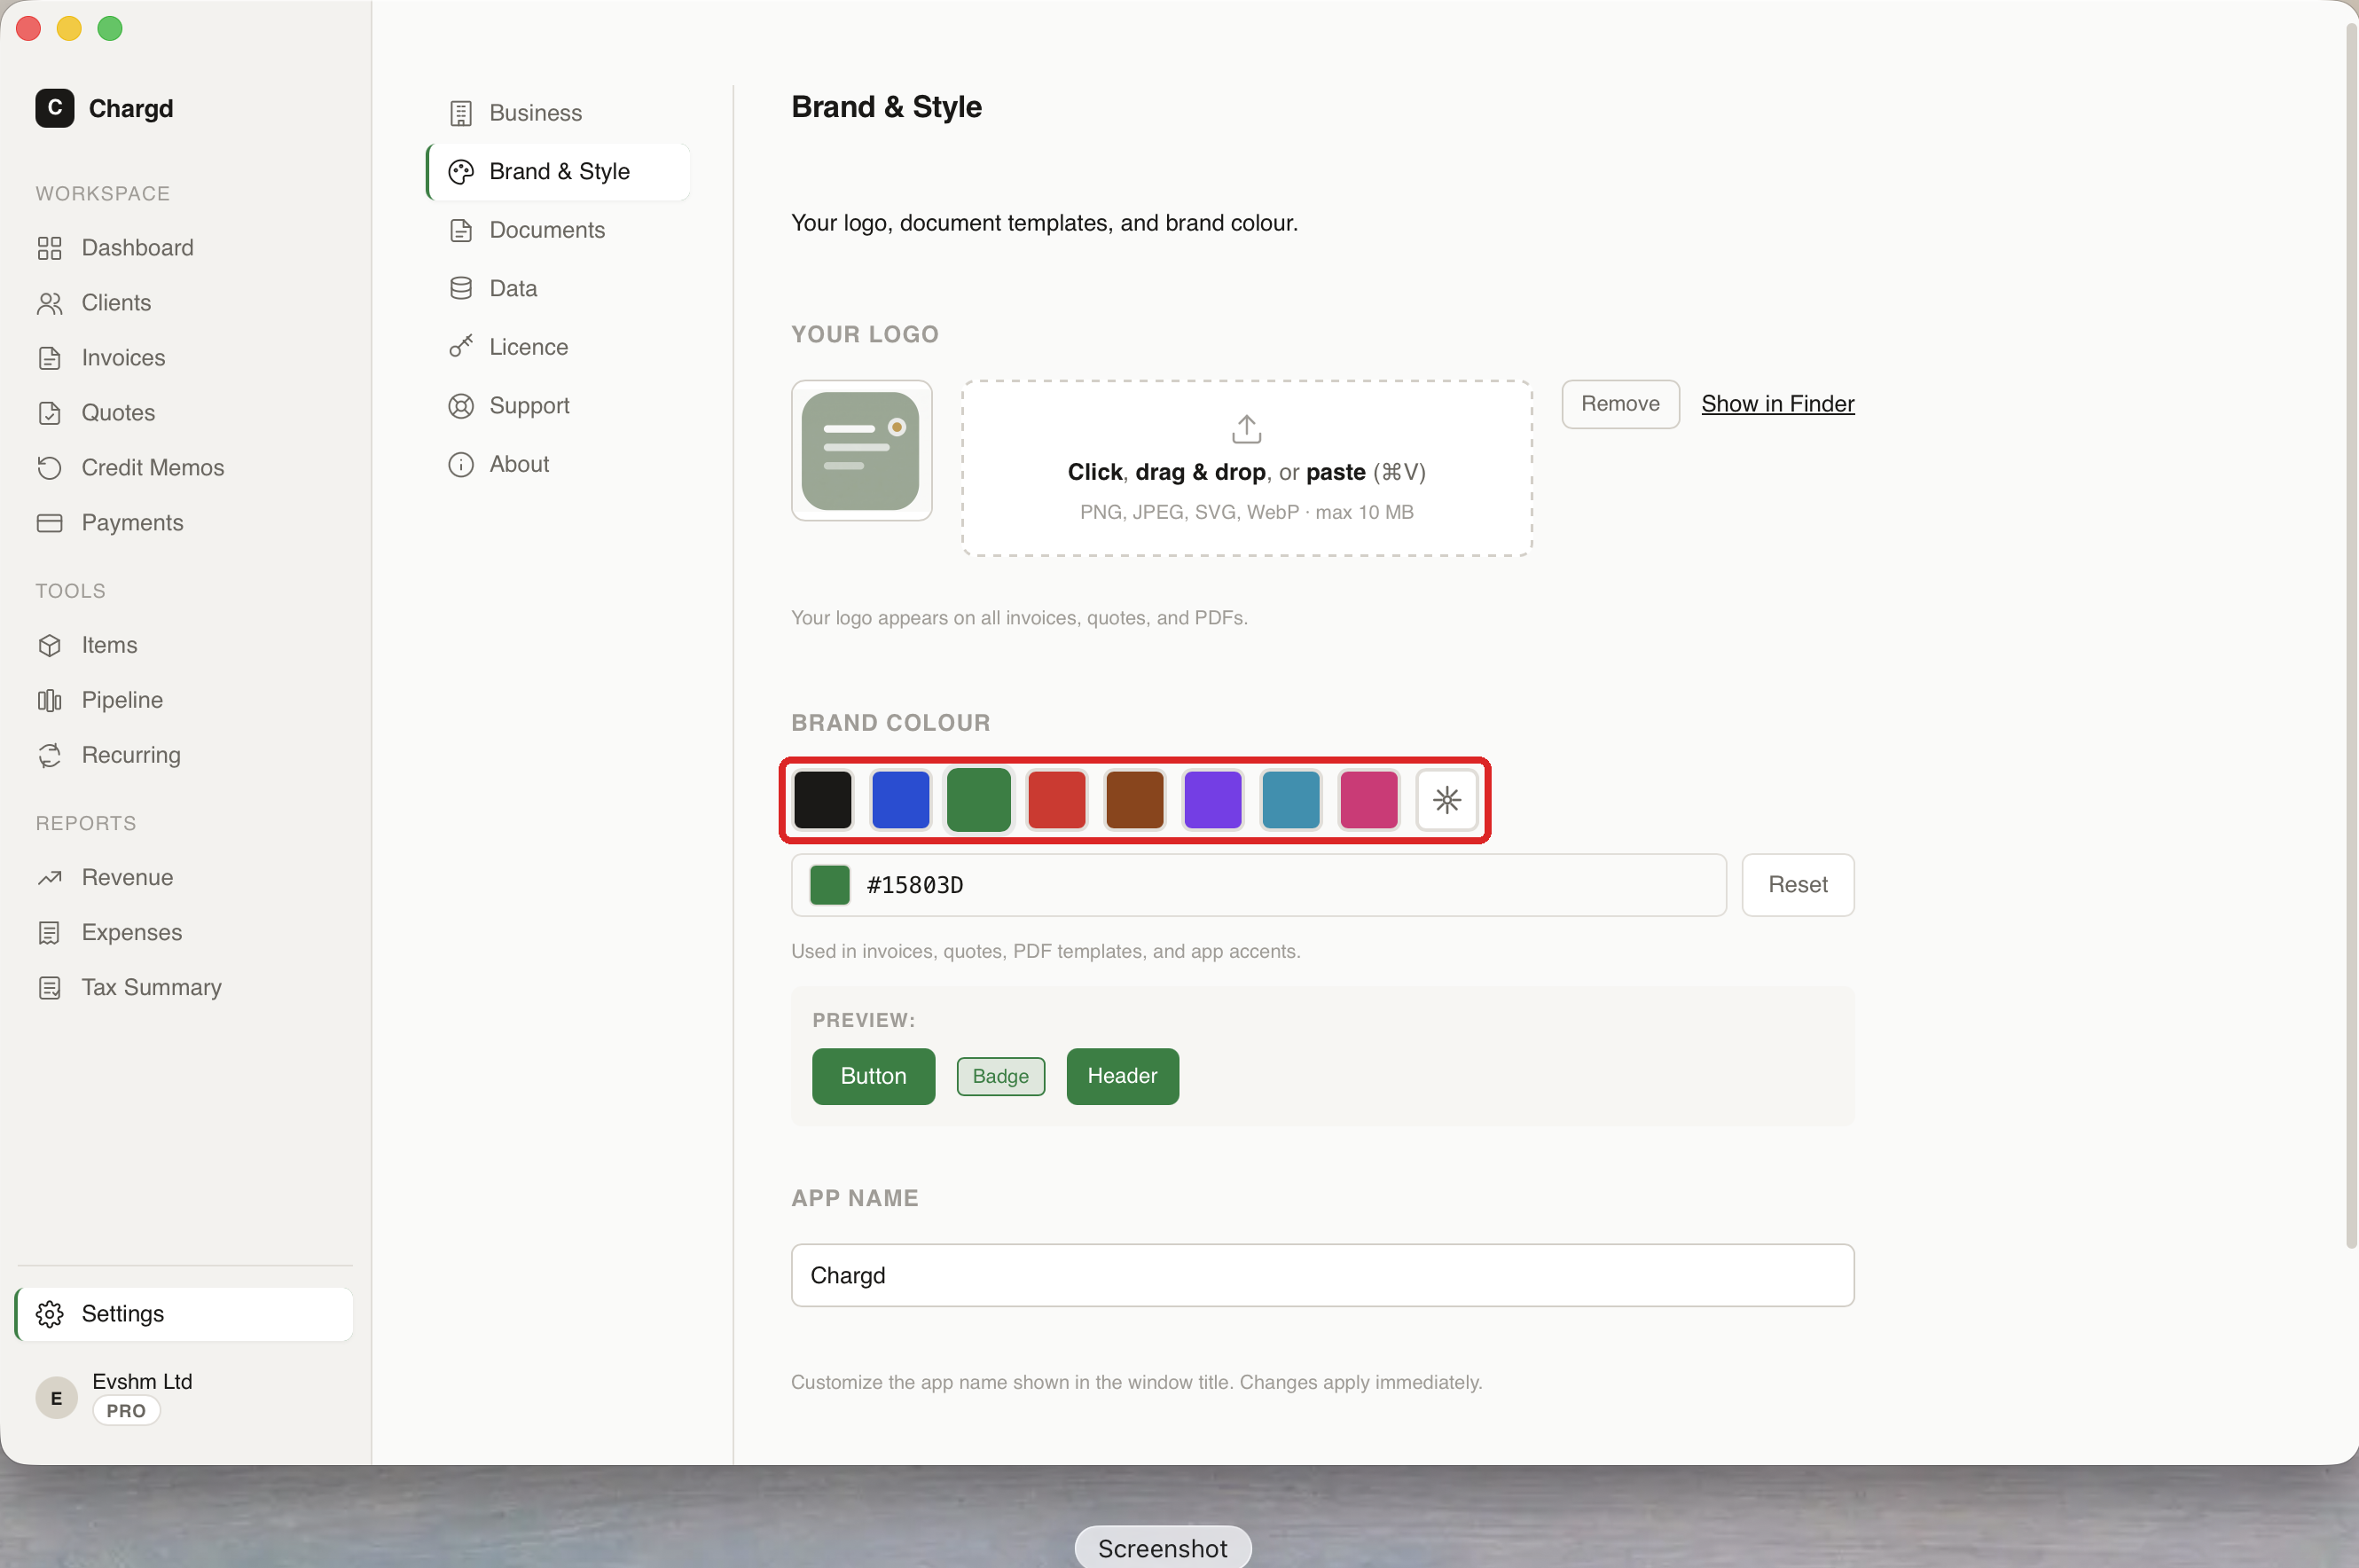
Documents
Set your invoice, quote, and credit memo number prefixes (circled below, e.g. INV-, QT-, CM-), plus your default currency, default tax rate, default payment terms, and a default invoice footer (handy for bank details). The Advanced Numbering section lets you reset a document counter, useful when migrating from another system.
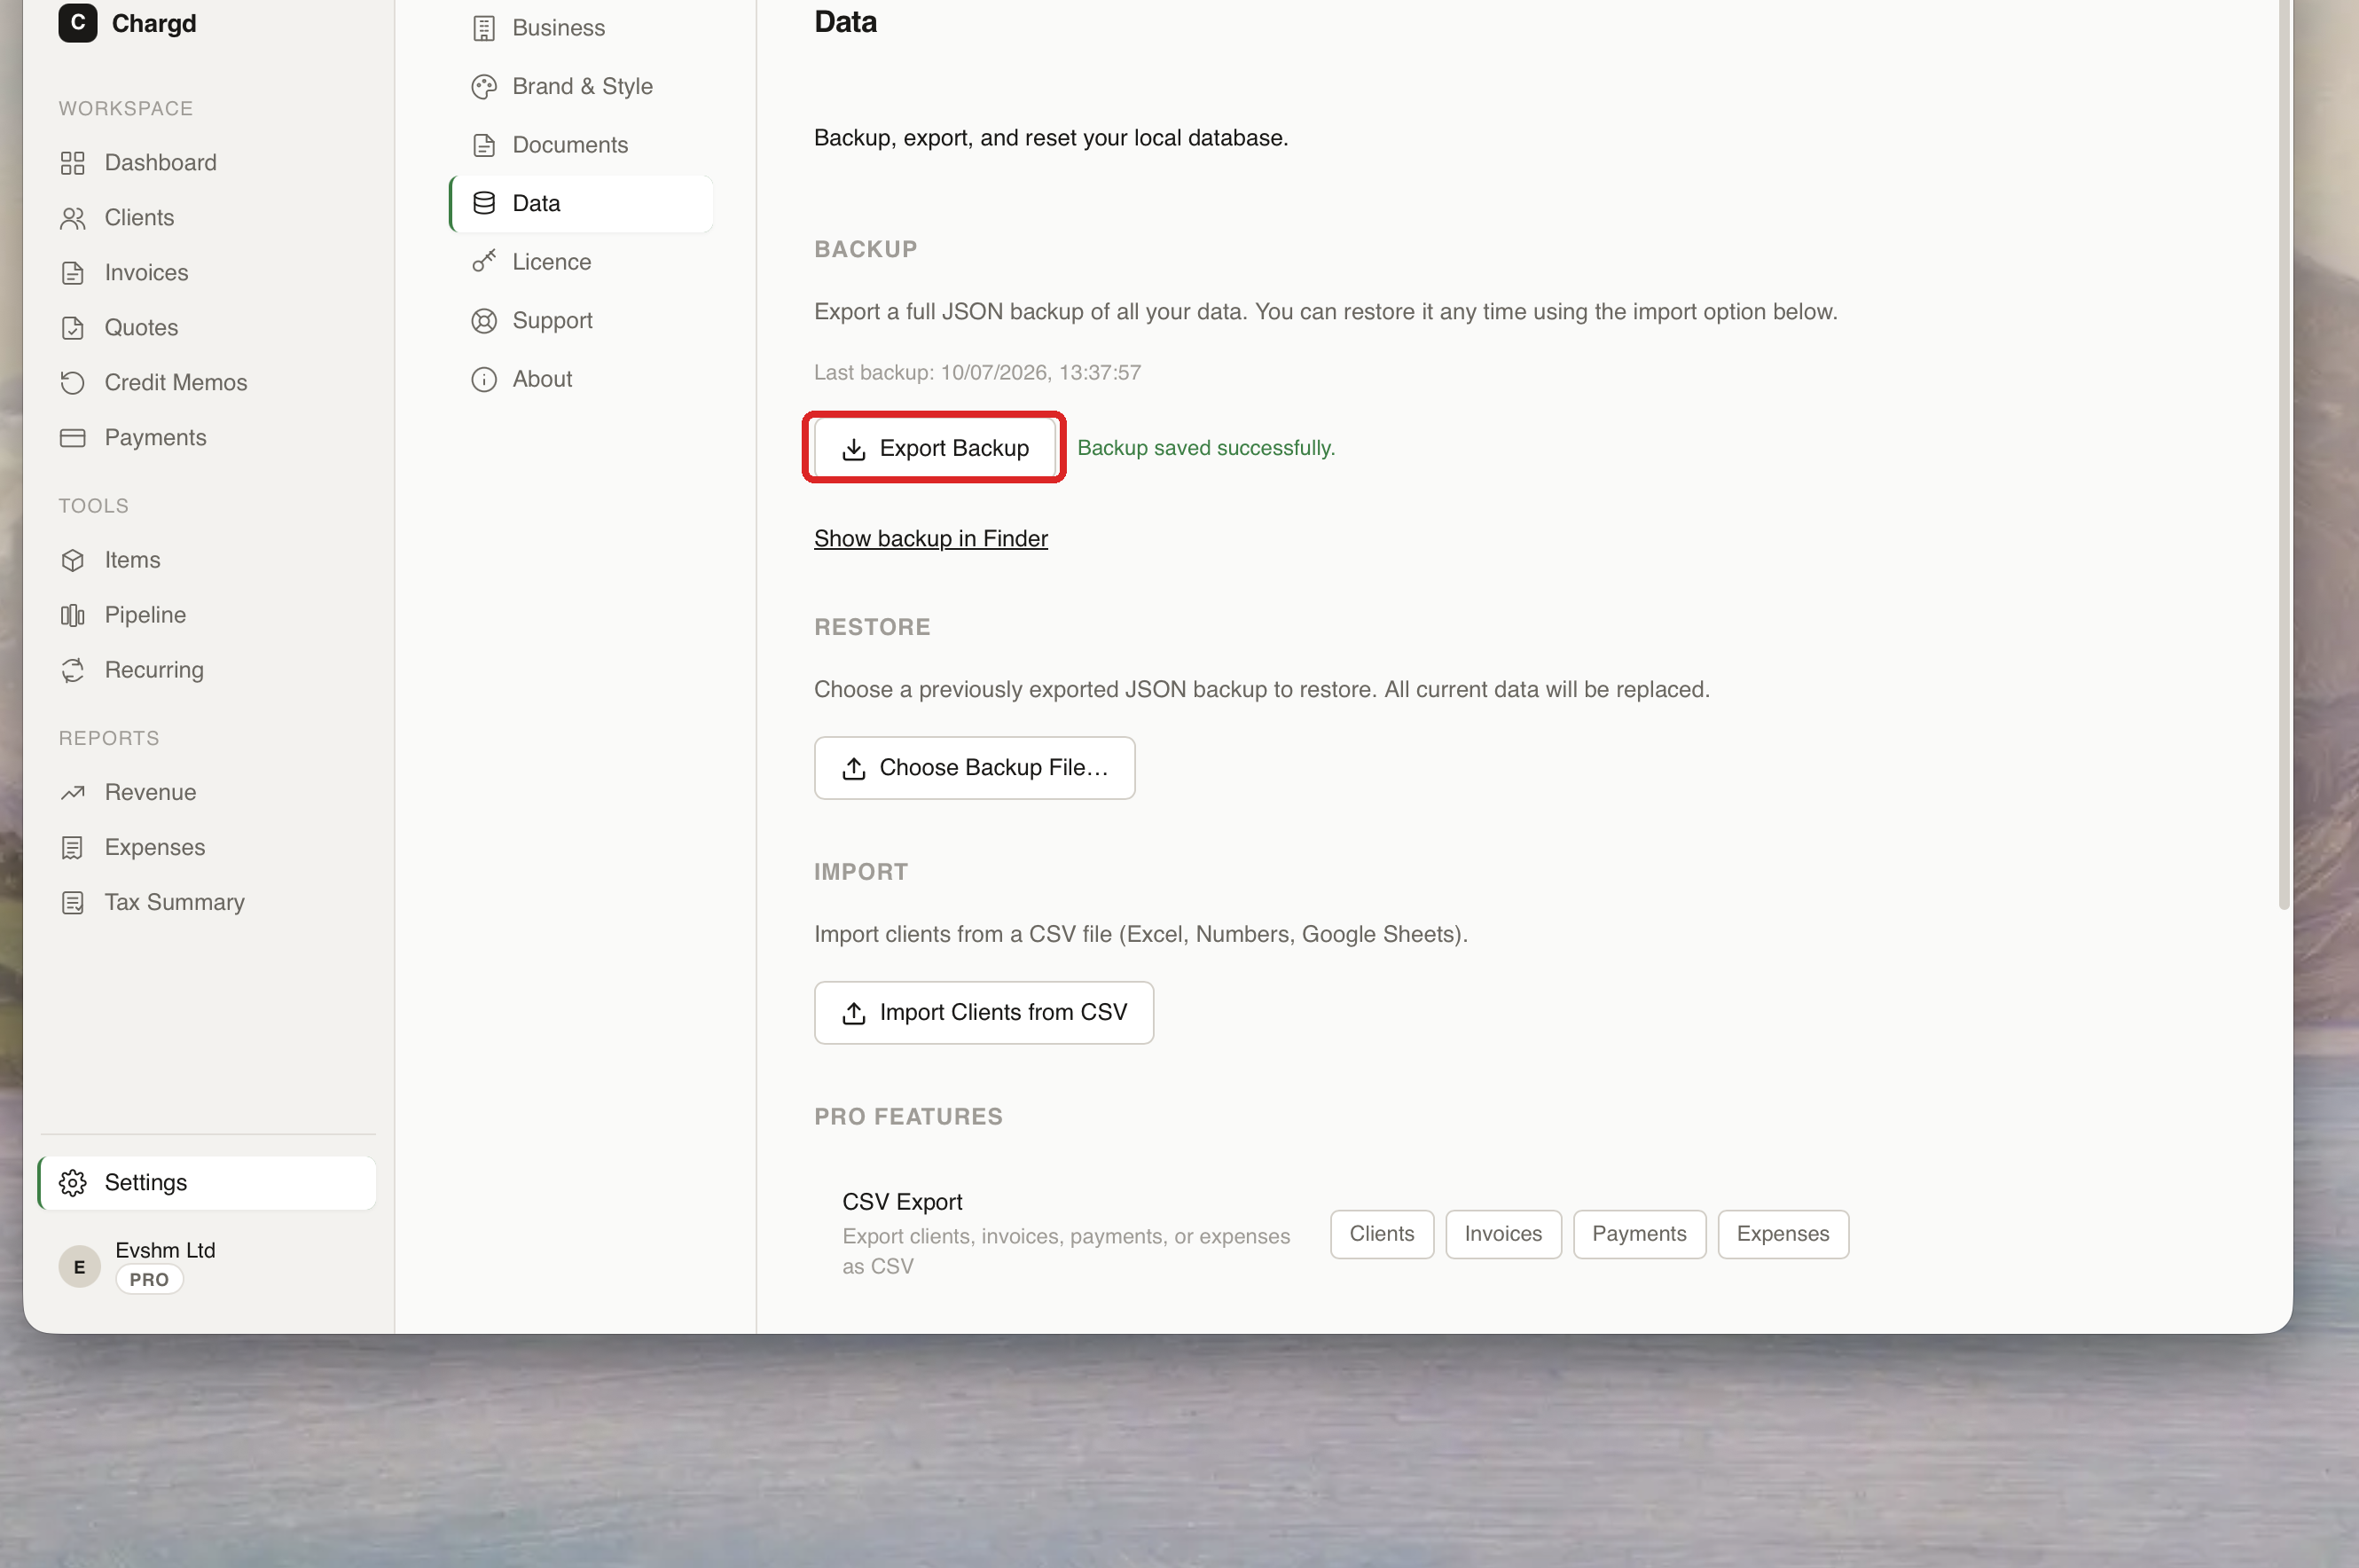
Data
Manual backup/restore, CSV import, and (Pro) CSV export, see Backups, exports & Trash for the full walkthrough.
Licence
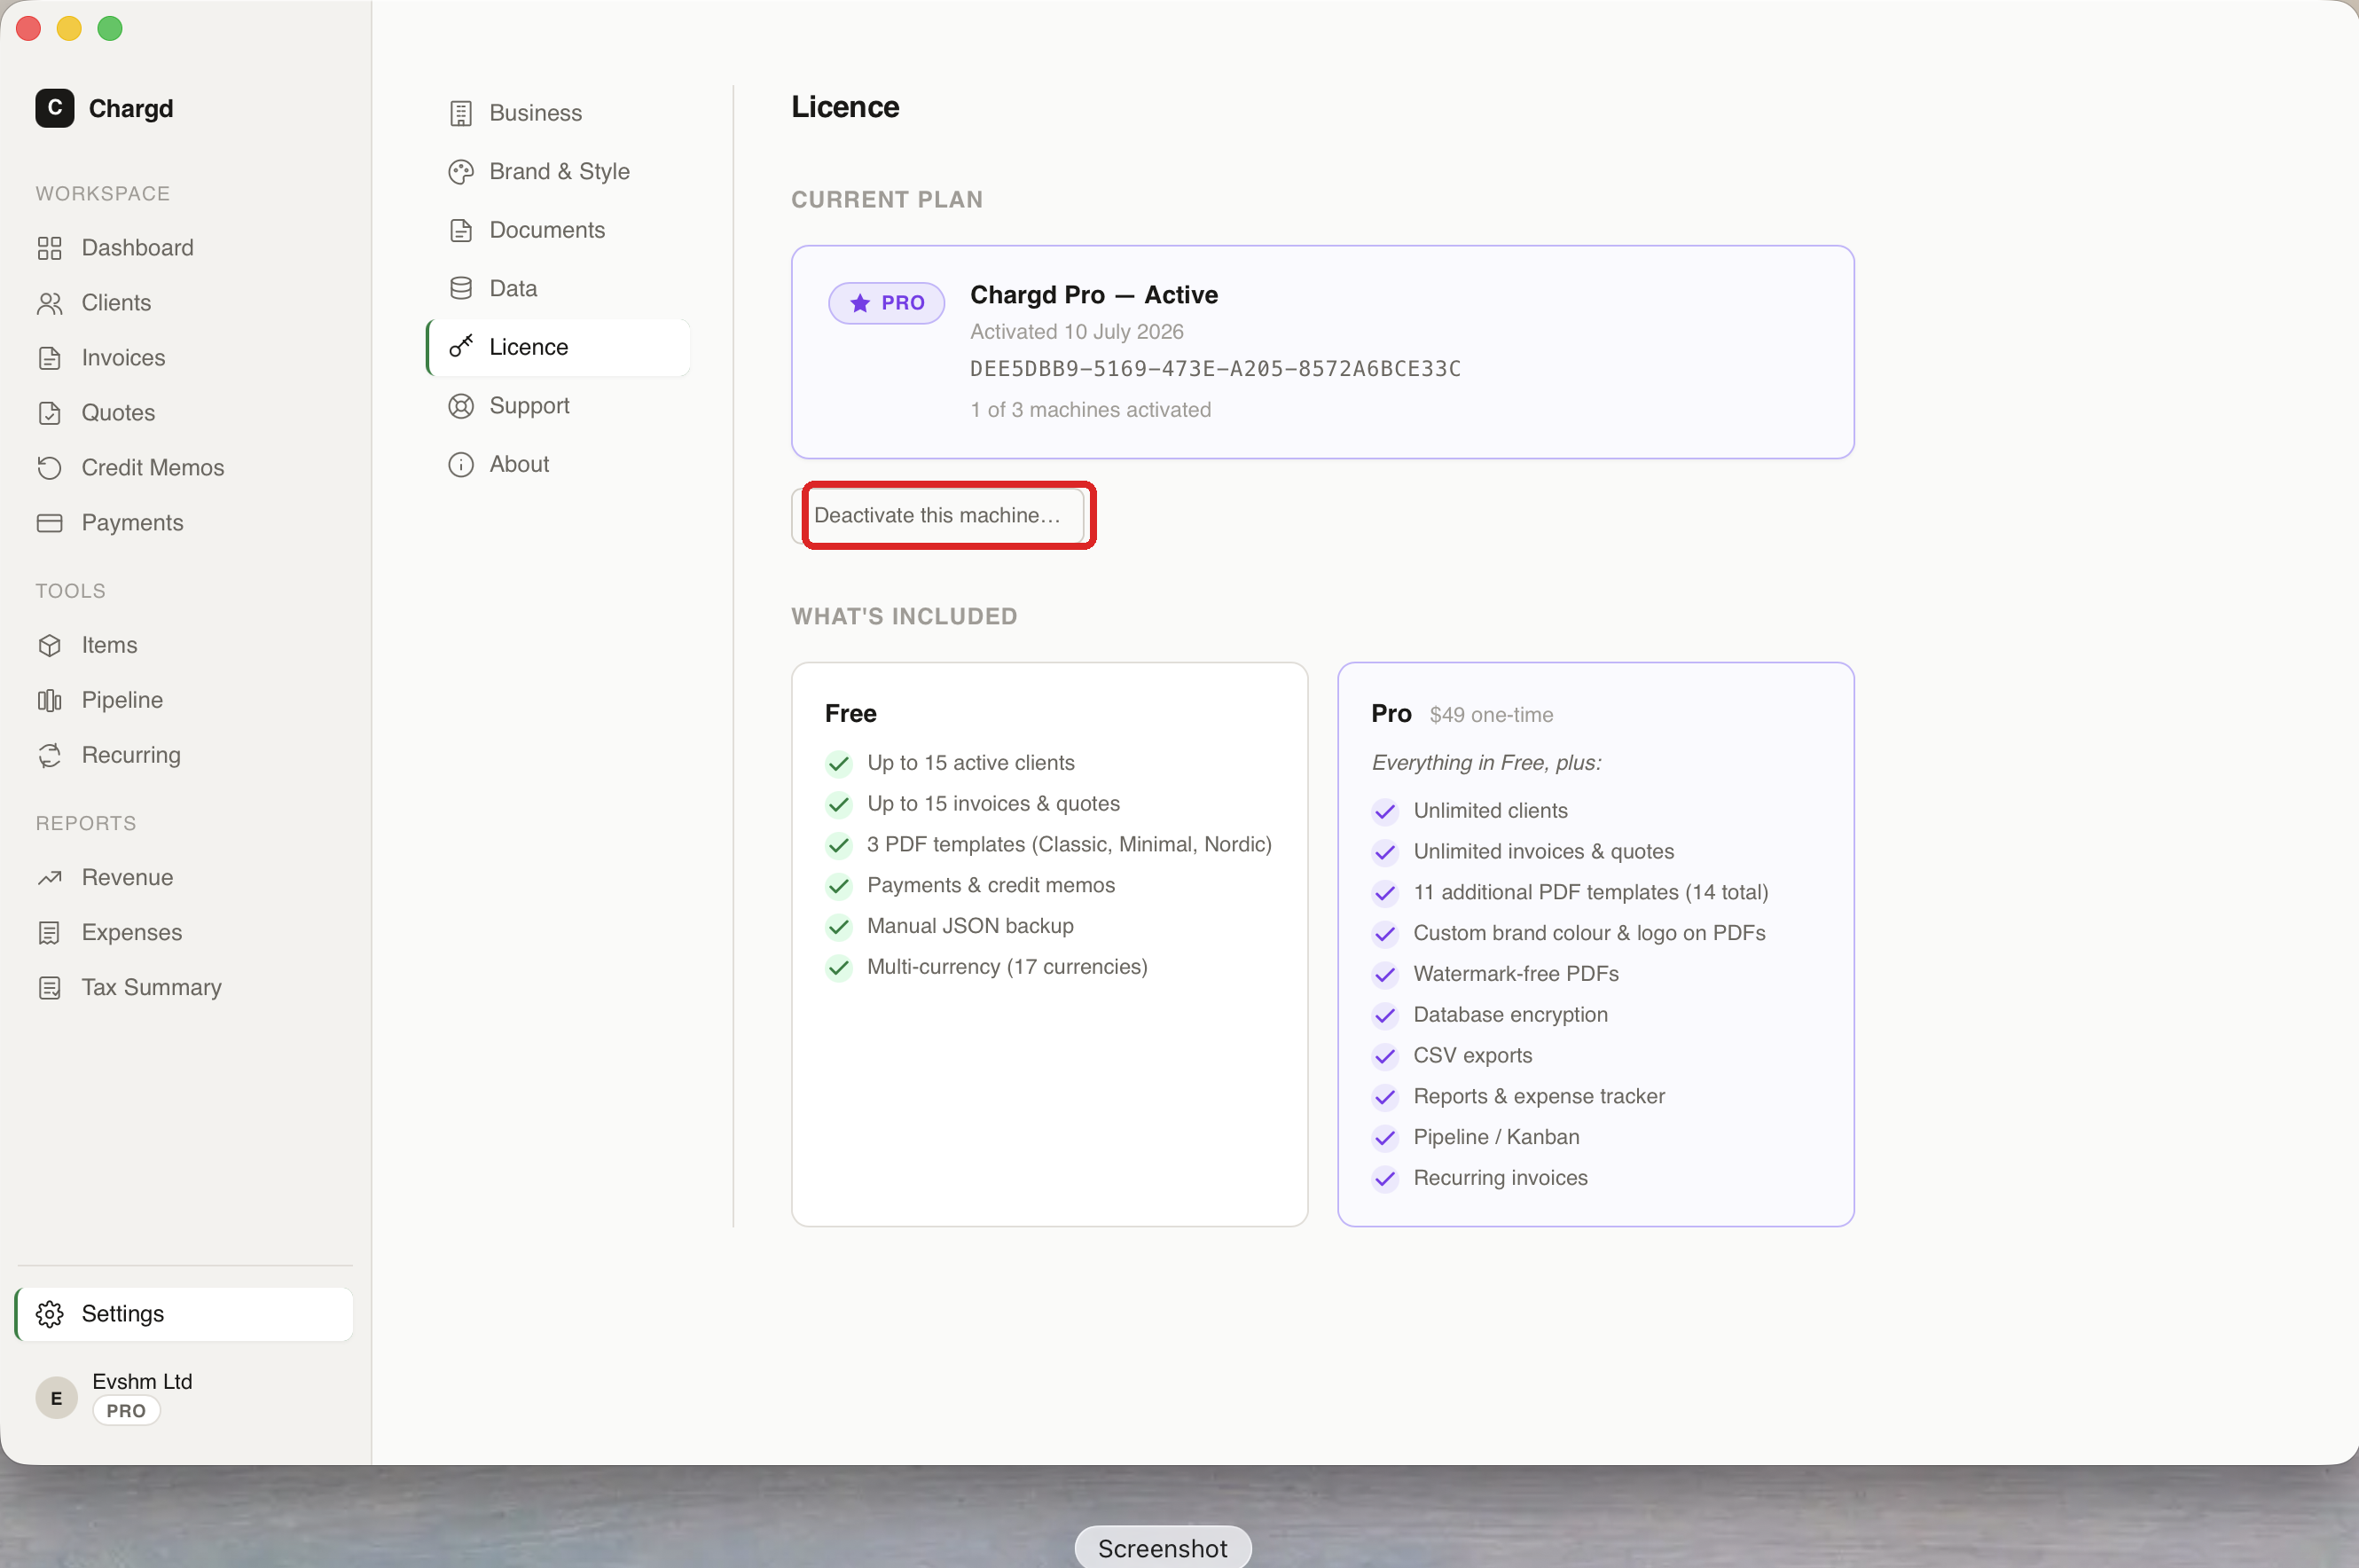
Shows your current plan, activation status, a licence ID, and how many machines you've activated it on (out of 3). Click Deactivate this machine (circled below) to free up a slot before moving to a new Mac. This screen also lists exactly what's included in Free vs. Pro side by side, the clearest place in the app to compare tiers.
Support
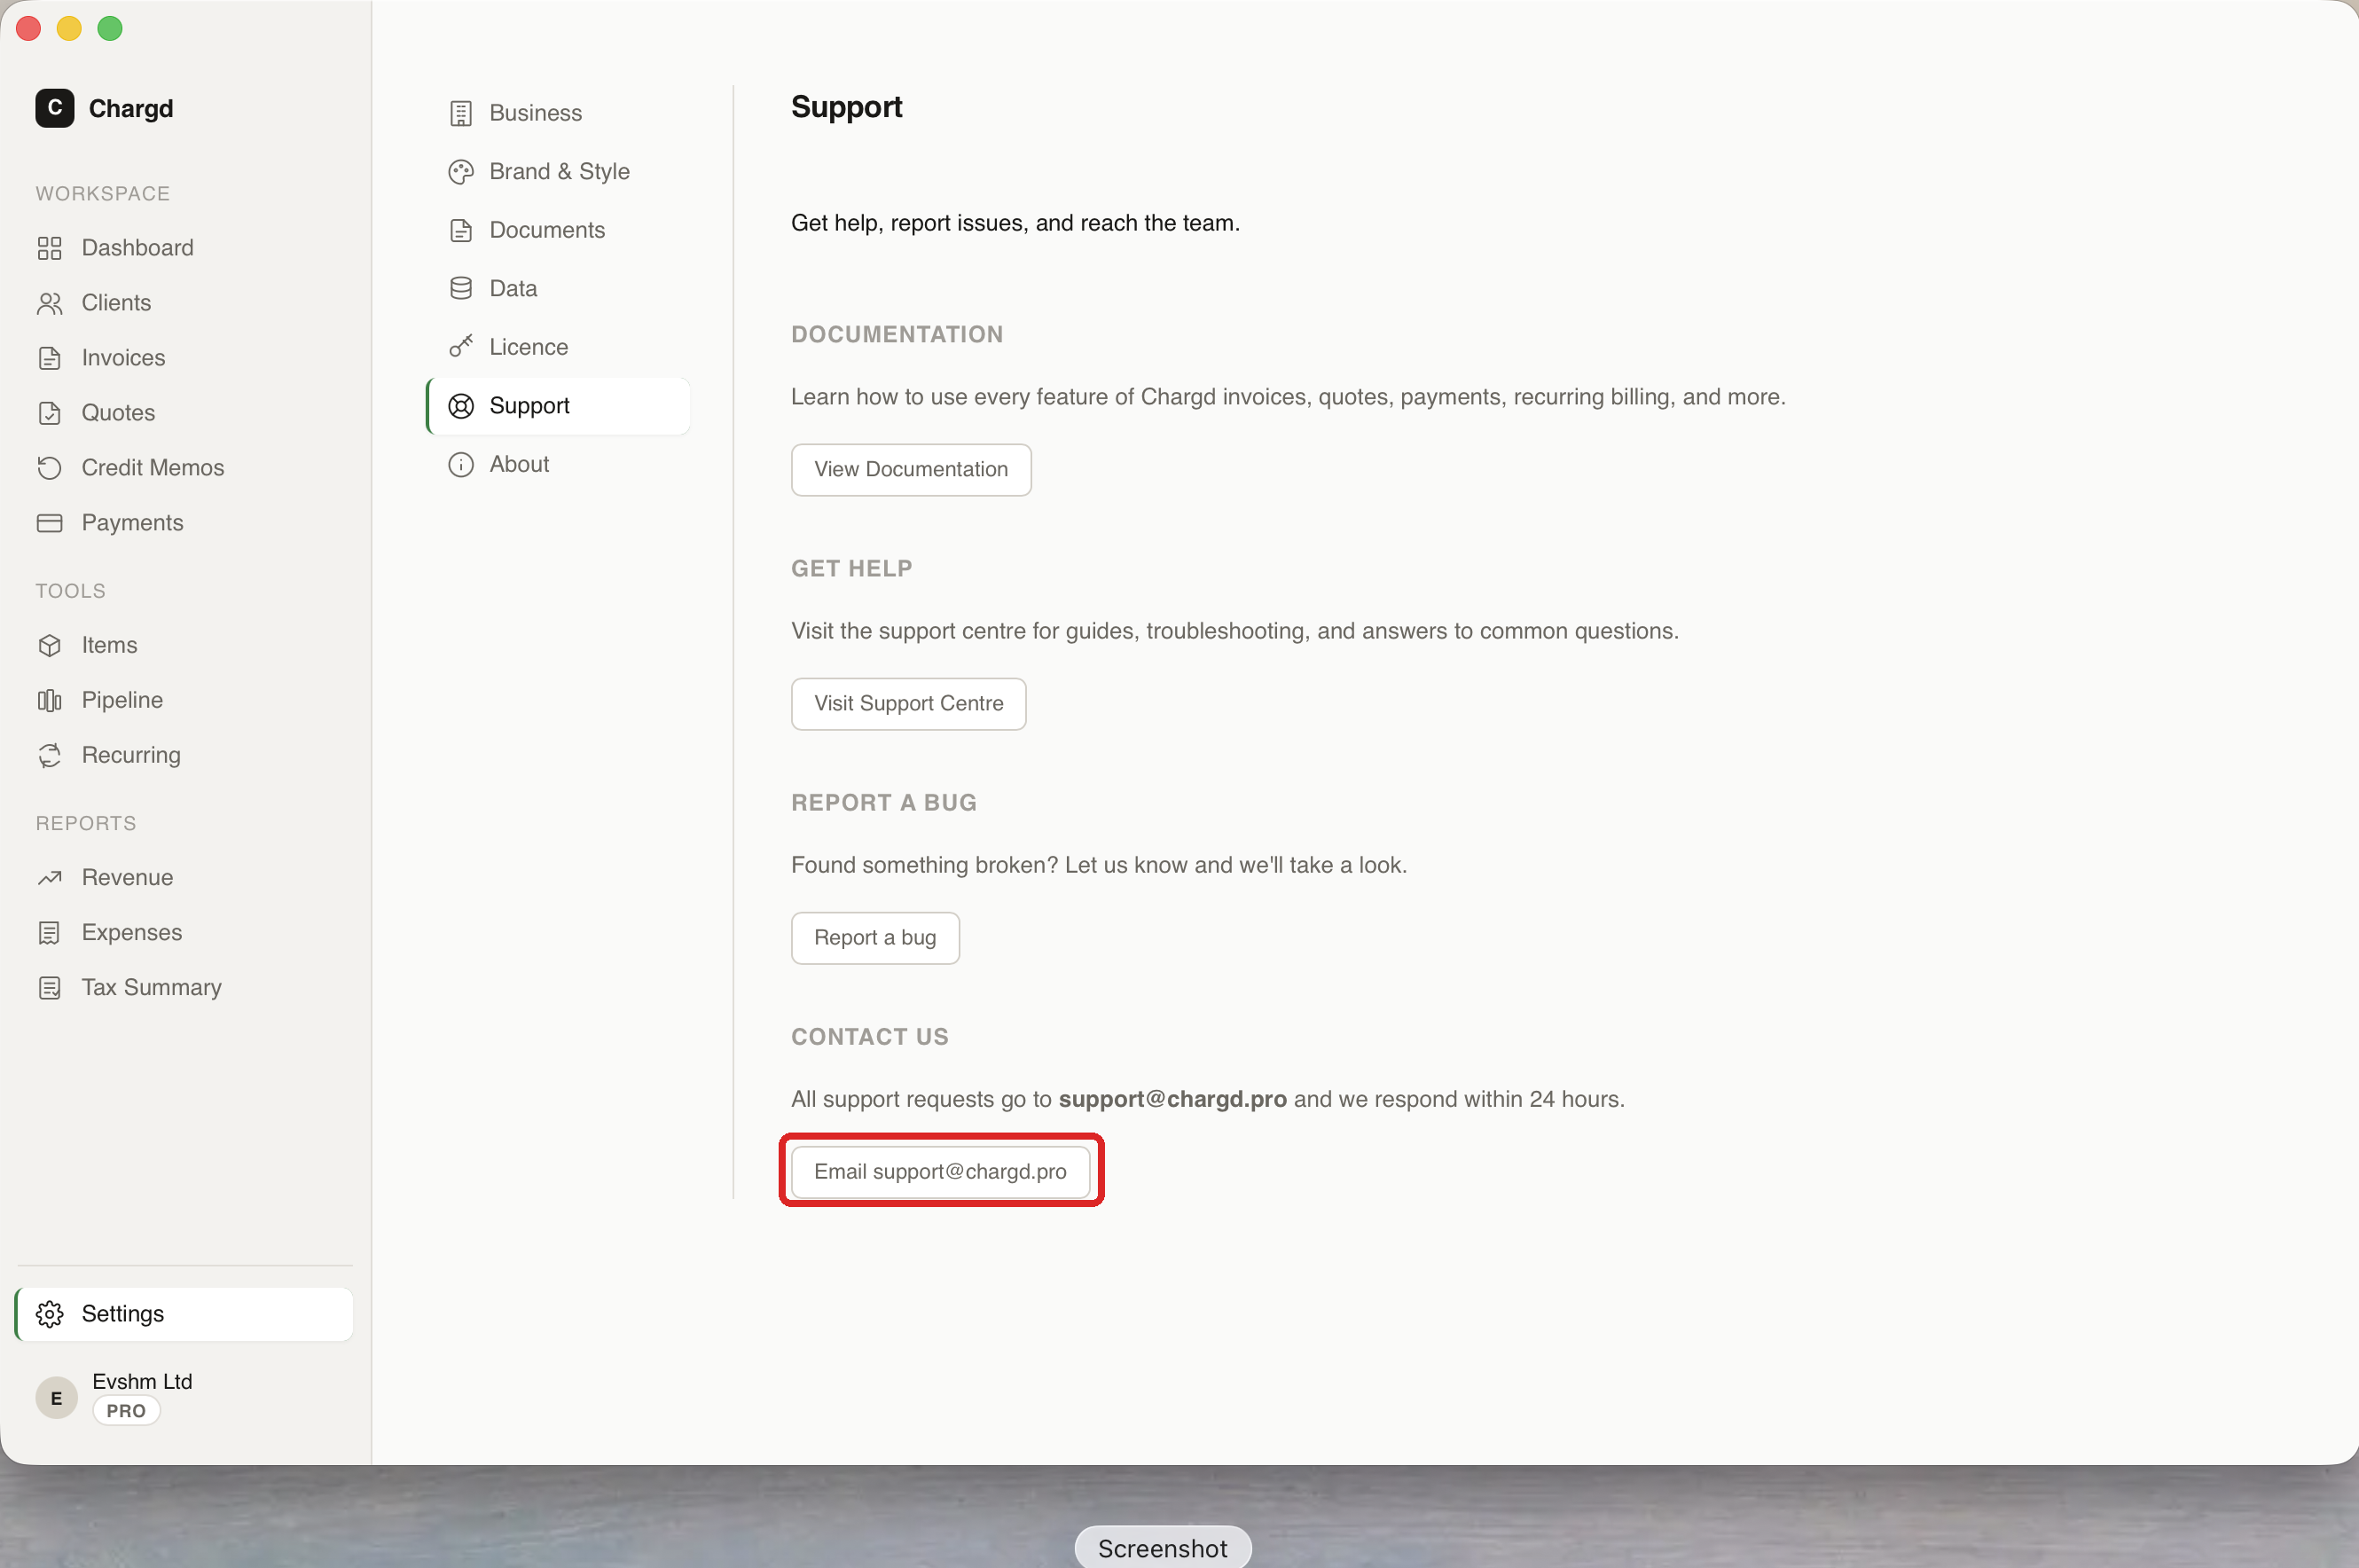
Four ways to get help, top to bottom: View Documentation (this guide), Visit Support Centre for troubleshooting articles, Report a bug, and Email support directly (circled below), support requests go to the address shown and are answered within 24 hours.
About
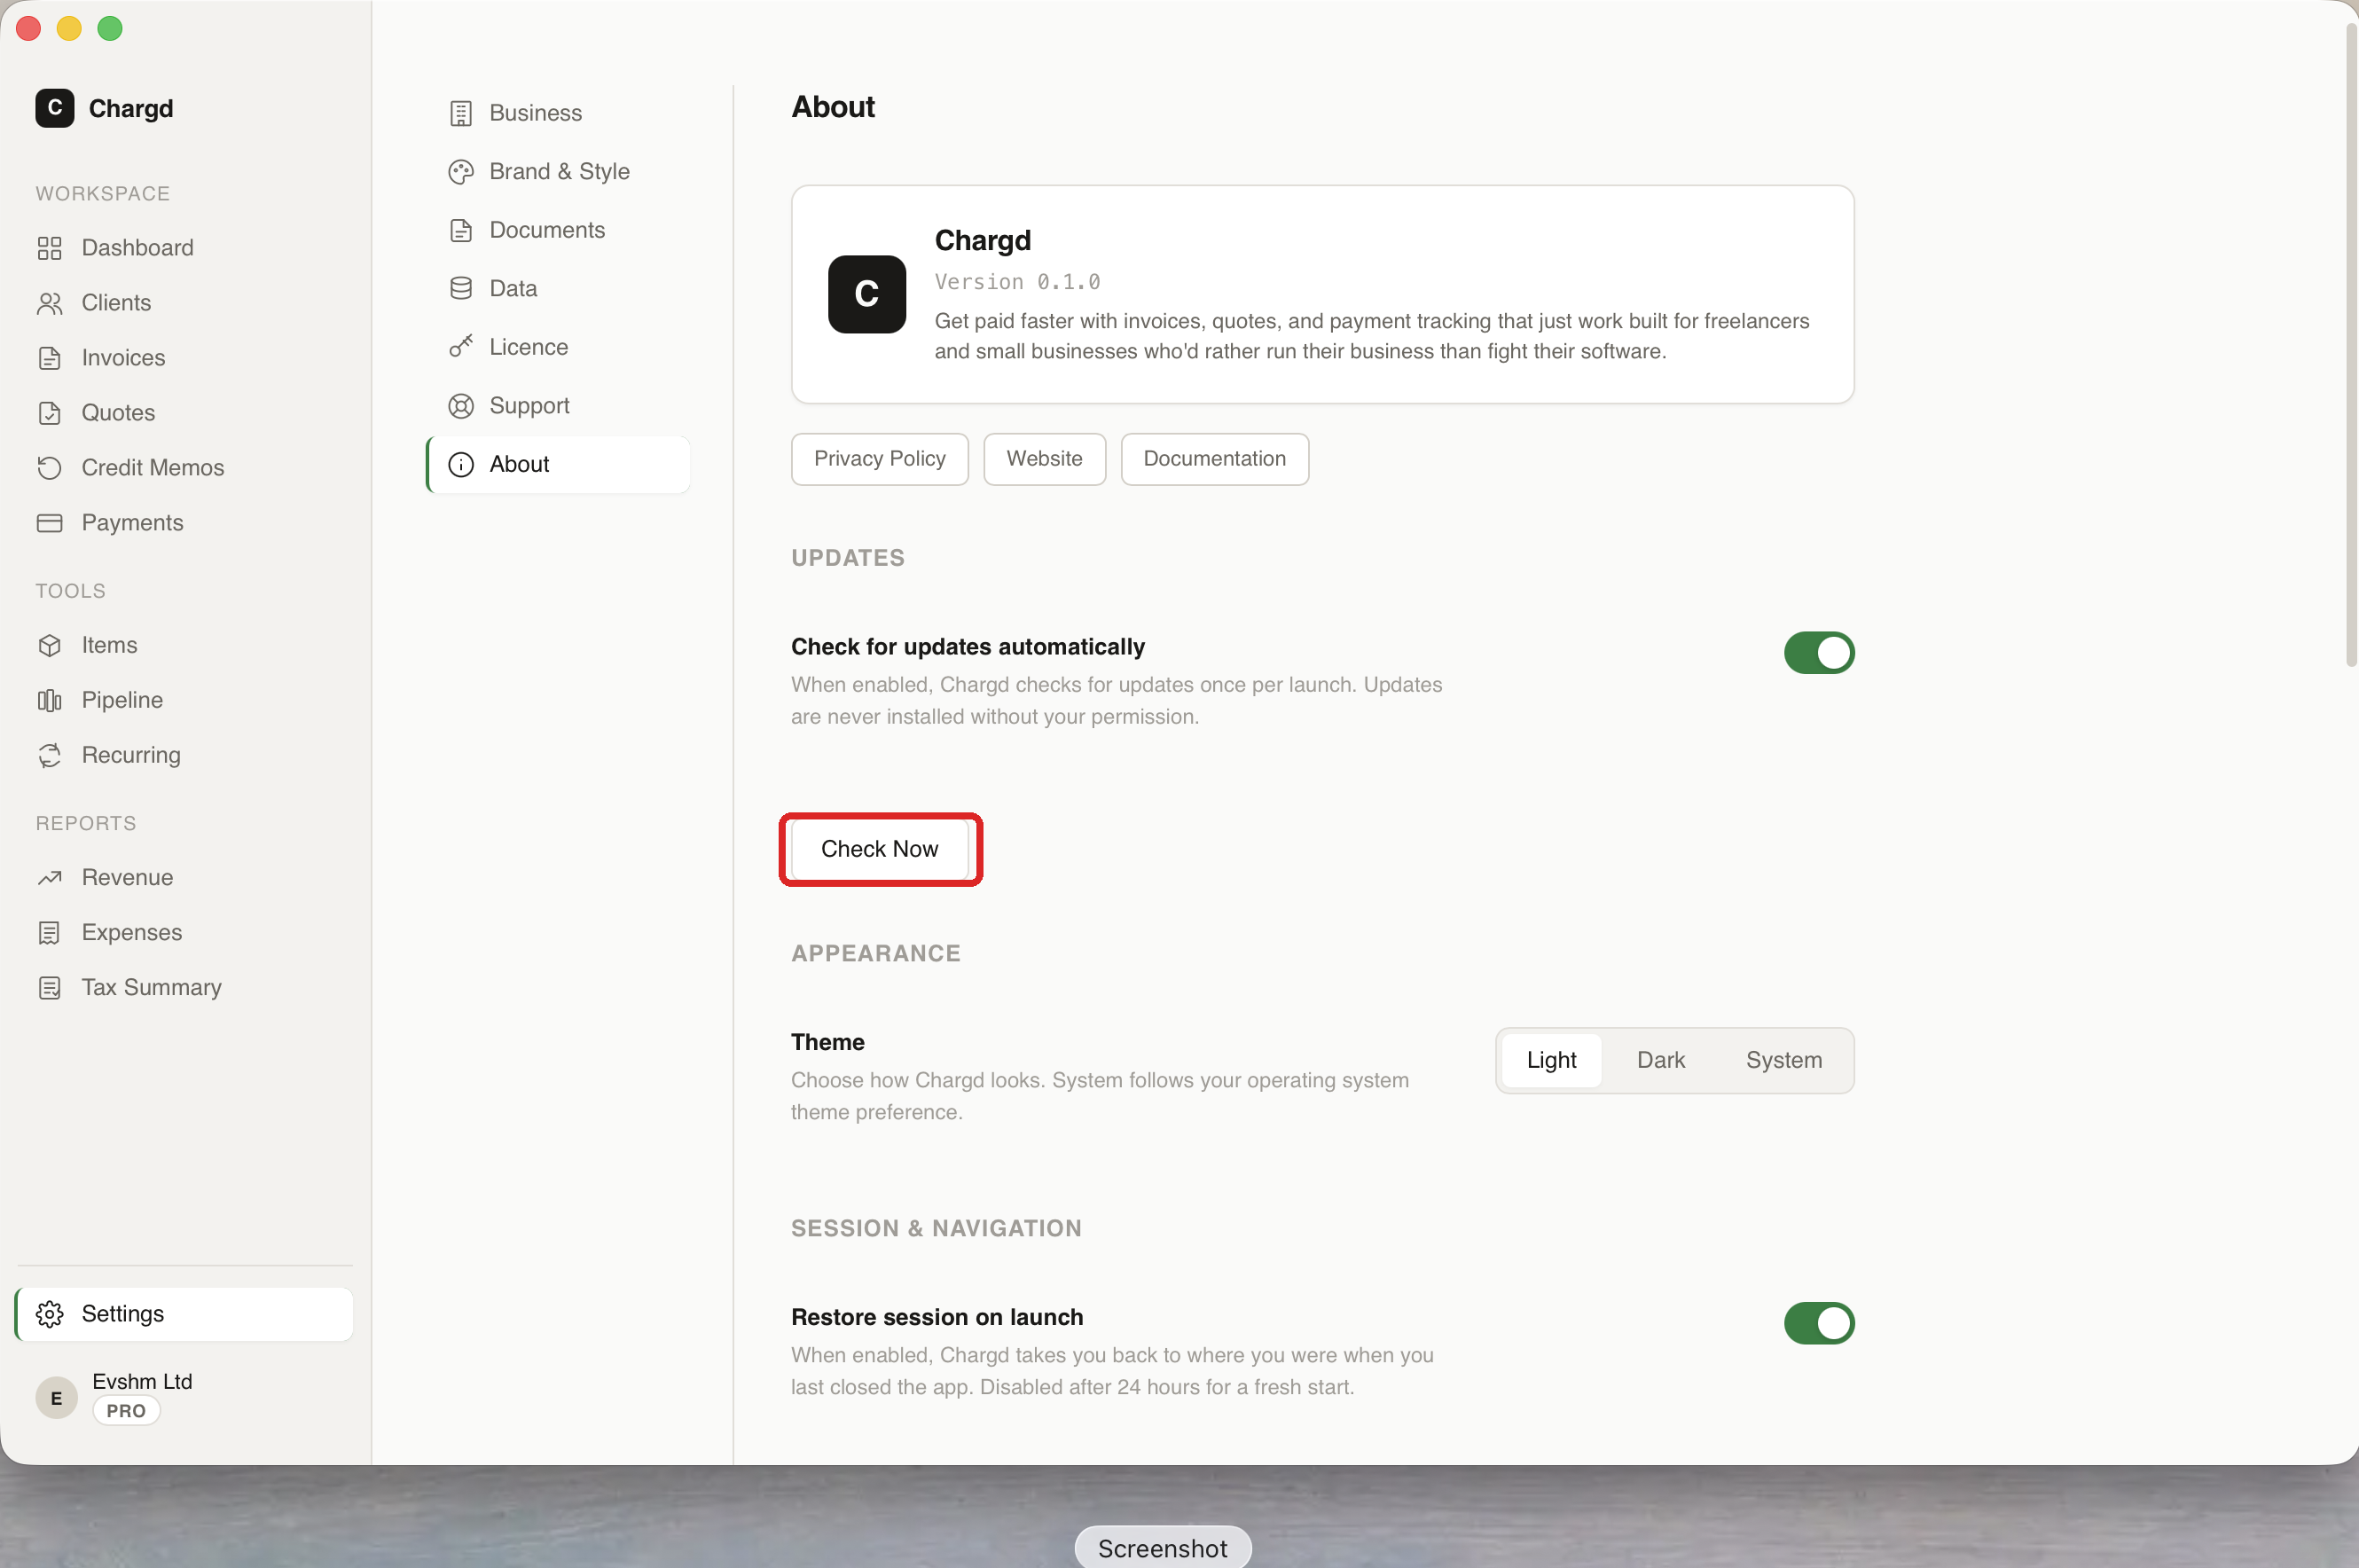
App version and links to the privacy policy, website, and documentation. Under Updates, toggle automatic update checks or click Check Now to check immediately, updates are never installed without your permission. Under Appearance, switch between Light, Dark, or System theme. Under Session & Navigation, toggle whether Chargd restores your last screen on launch.
← Reports · Back to guide index · Next: Backups, exports & Trash →