
Getting started & onboarding
The first time you launch Chargd, you'll be walked through a 5-step onboarding wizard. It takes about two minutes, and everything you enter can be changed later in Settings.
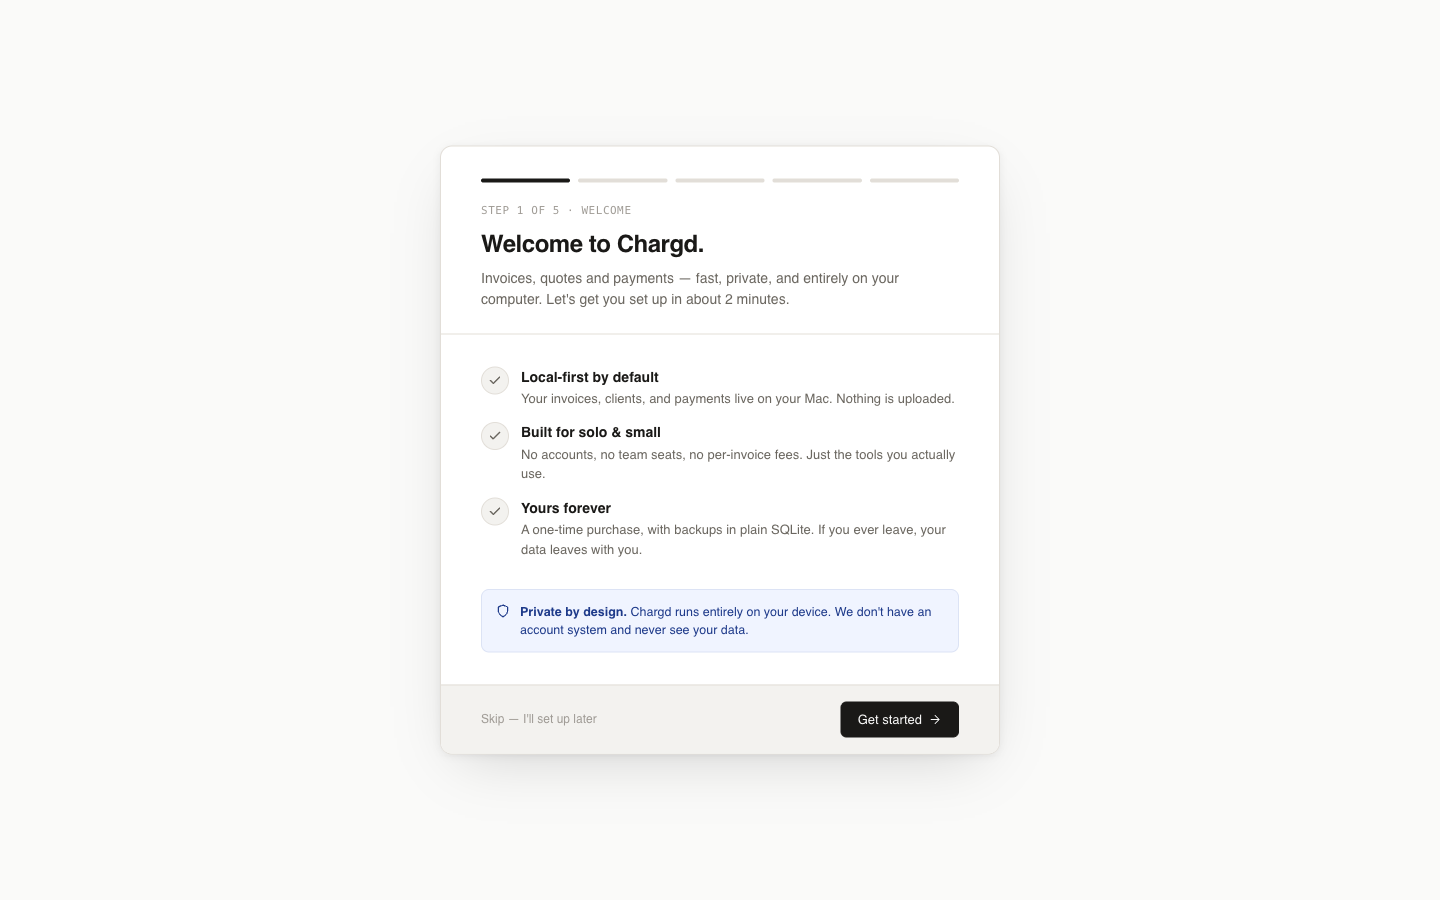
Step 1: Welcome
You'll see a short introduction to Chargd's three core promises: local-first (your data never leaves your Mac), built for solo & small businesses (no team seats, no per-invoice fees), and yours forever (one-time purchase, plain SQLite backups).
Click Get started to continue, or Skip — I'll set up later to jump straight into the app with defaults.
Step 2: Your business
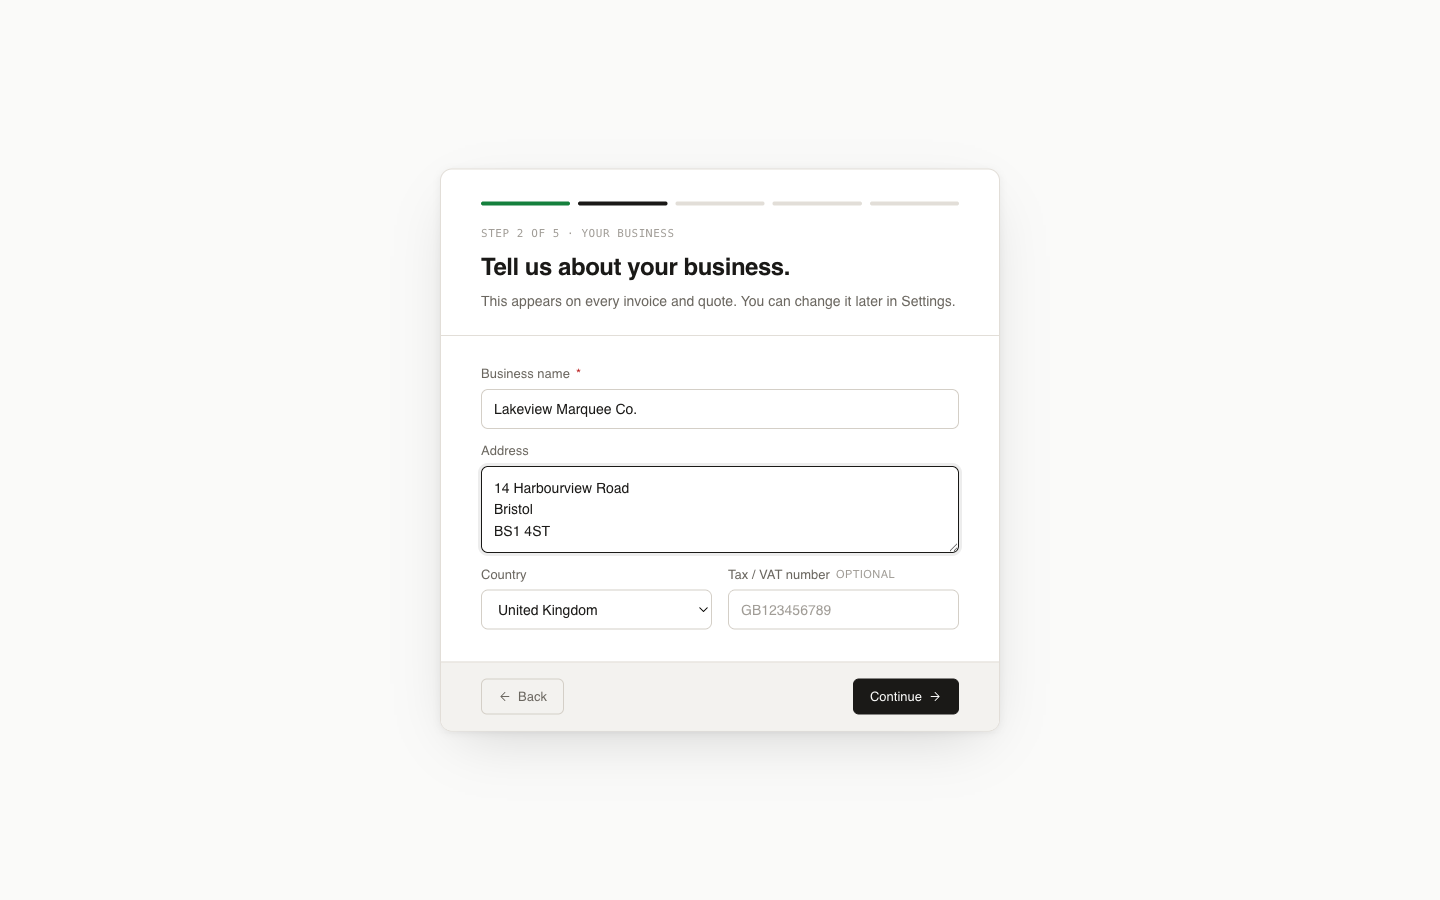
Enter the details that will appear on every invoice and quote you send:
- Business name (required), shown at the top of every PDF.
- Address, your street address, city, and postcode.
- Country, used to set sensible currency and tax defaults.
- Tax / VAT number (optional).
Click Continue when done. You can edit all of this later under Settings → Business.
Step 3: Currency & defaults
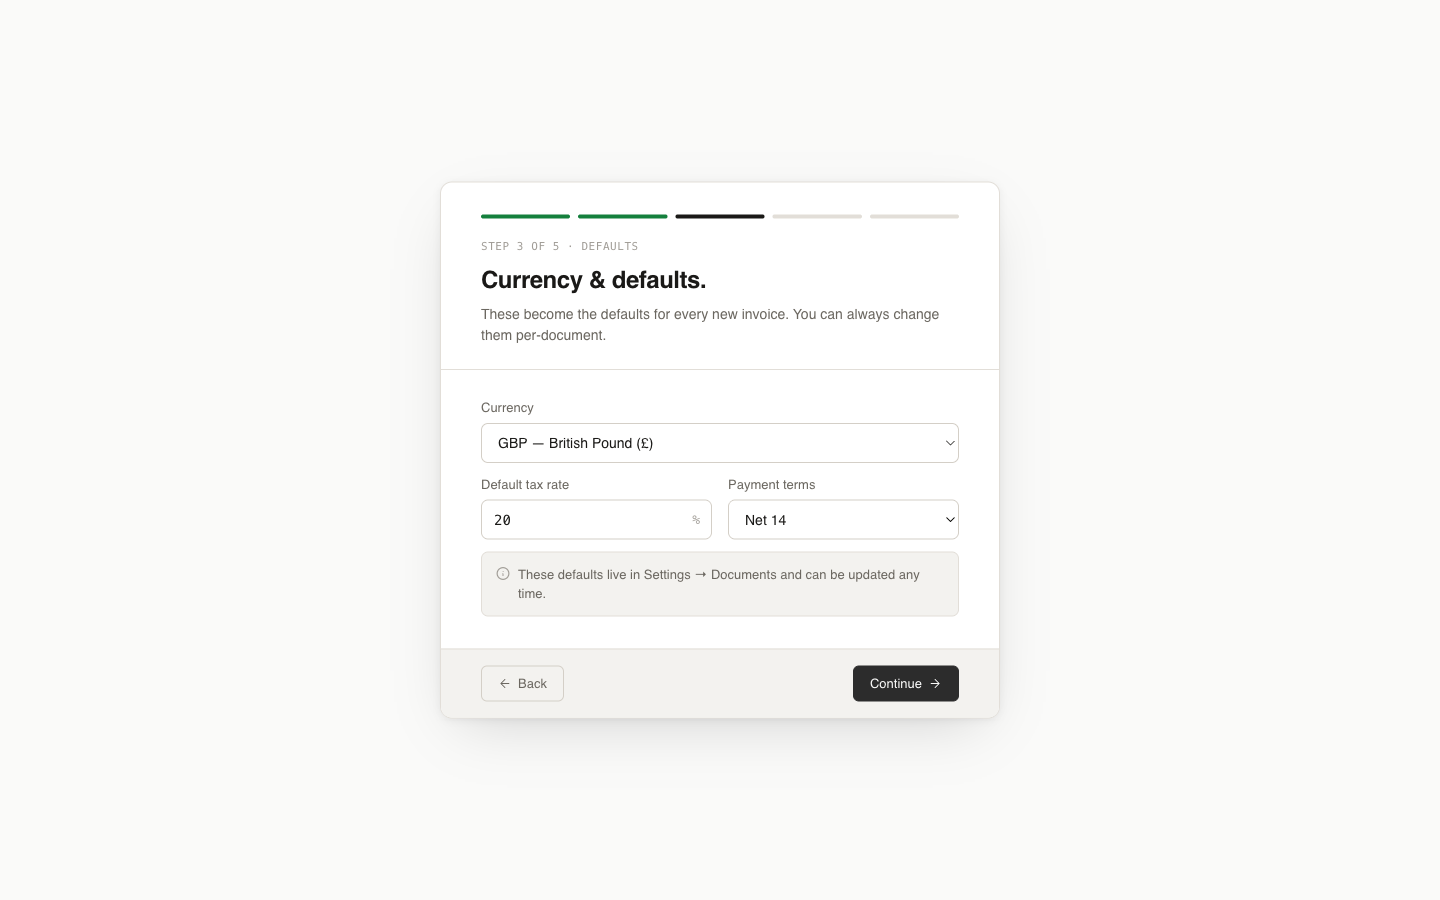
Set the defaults that pre-fill every new invoice and quote:
- Currency, choose from 51 supported currencies.
- Default tax rate, as a percentage, applied to new line items.
- Payment terms, how long clients have to pay (Due on receipt, Net 7, Net 14, Net 30, Net 60, or Net 90). This determines the default due date on new invoices.
These can always be overridden per-document, and changed globally later under Settings → Documents.
Step 4: Your logo
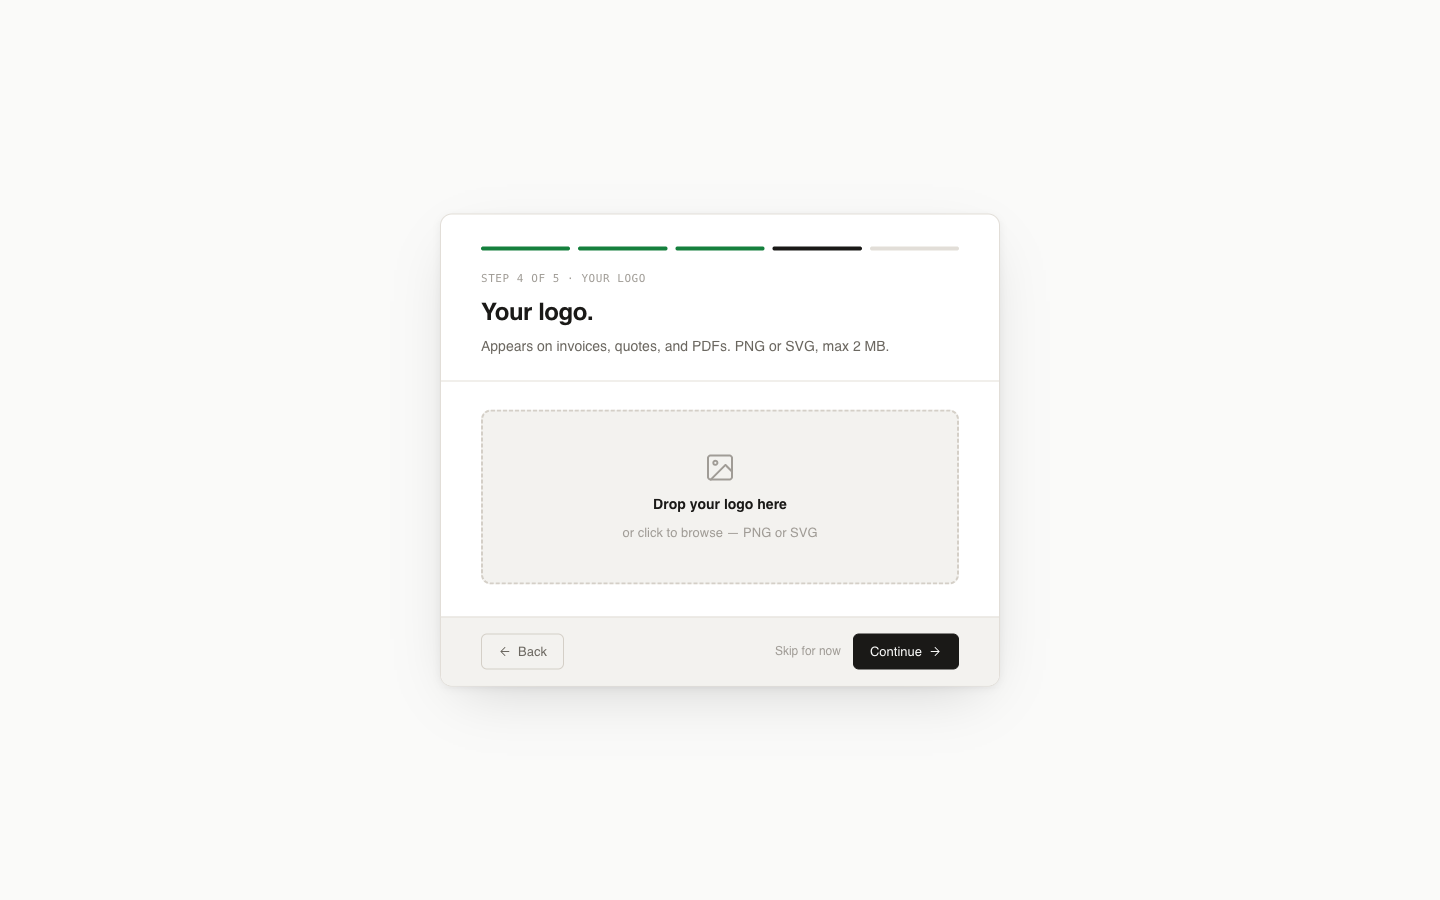
Drag a PNG or SVG logo (up to 2 MB) onto the upload area, or click to browse for a file. Your logo appears on every invoice, quote, and PDF you generate.
This step is optional, click Skip for now if you don't have a logo ready. You can add one later under Settings → Business.
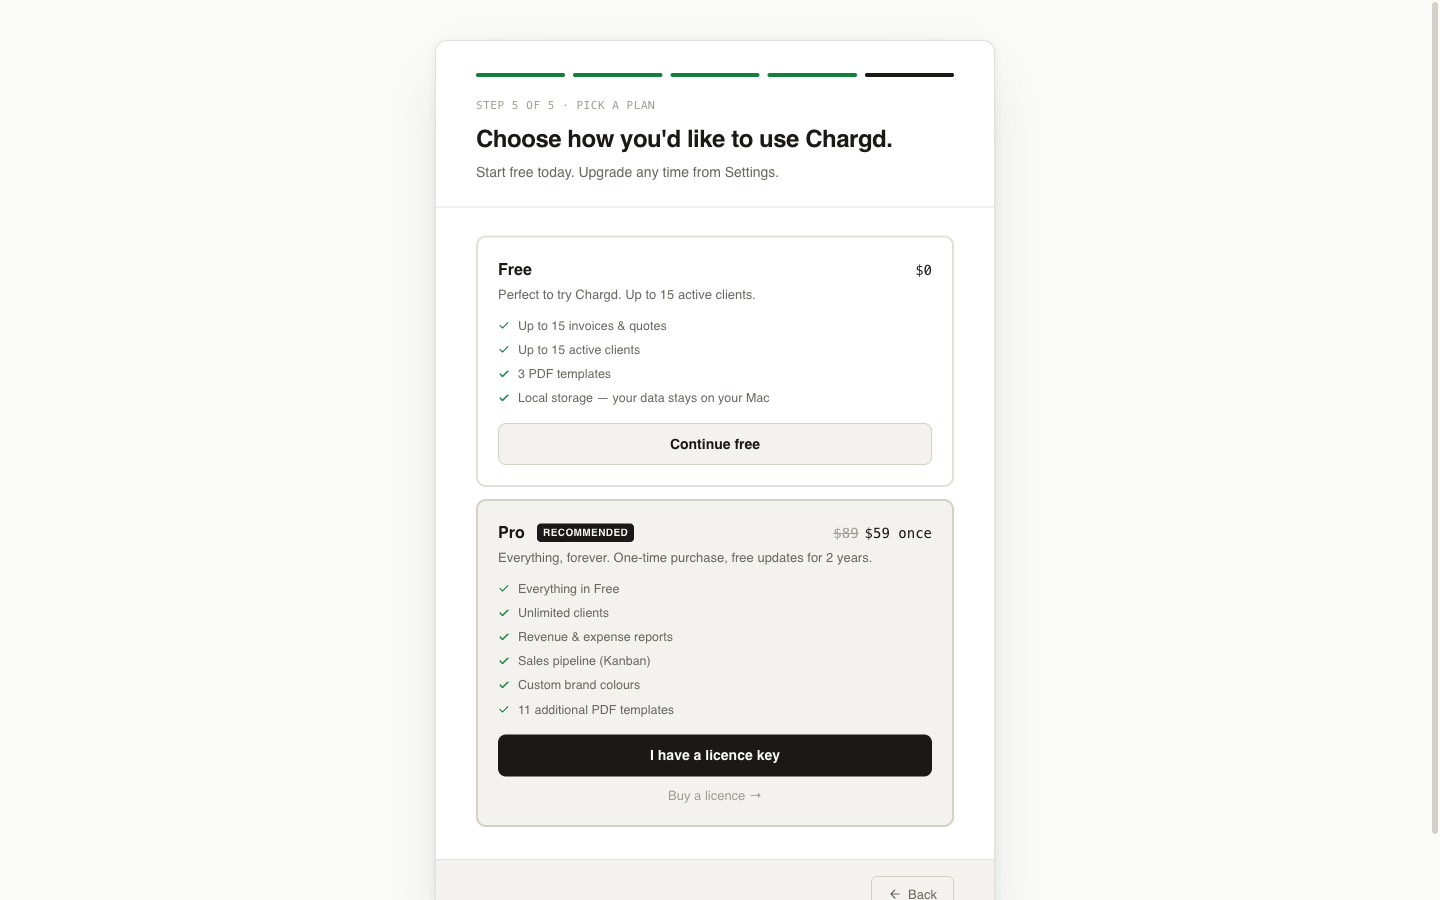
Step 5: Choose your plan
Pick how you want to start:
- Free, up to 15 active clients, 15 invoices/quotes, 3 PDF templates, local storage. No time limit.
- Pro, everything in Free plus unlimited clients, revenue & expense reports, the sales pipeline, custom brand colours, and 11 additional PDF templates. One-time purchase, not a subscription.
If you already own a Pro licence, click I have a licence key and enter it to activate immediately. Otherwise click Continue free, you can upgrade any time from Settings, and every locked Pro feature stays visible with a padlock so you always know what you're missing.
Once you finish this step, Chargd takes you to the Dashboard and you're ready to go.
← Back to guide index · Next: Dashboard →